
A paint sprayer has many advantages over traditional painting methods. First, it leaves you with smooth, elegant, and unblemished surfaces. Additionally, the process is speedy. You’ll complete a task almost four times as fast as using a roller or a paintbrush.
However, you’ll need to service and prime your paint sprayer properly to achieve the desired efficiency. This article will go into detail to explain how you can prime a paint sprayer for excellent staining or painting results.
Quick Questions Before Starting
Below are important questions you may ask yourself before priming a paint sprayer.
How Difficult is This to Do?
Priming a paint sprayer is an easy process that doesn’t require any special knowledge. Be sure to follow simple instructions on the manufacturer’s guide to complete the process.
How Long Does it Take?
Once equipped with all the necessary priming requirements, the process should not last more than 15 minutes, irrespective of the type of your paint sprayer.
How Much Do Materials Cost?
All materials needed before priming include primer paint, two buckets, a full-face respirator, and protective gloves. These should cost you about $125 if you shop them from Amazon.
Items Needed to Prime a Sprayer
Priming a paint sprayer does not require many things. You may even use water to prime your machine if you use water-based fluids in your sprayer.
Below is a list of requirements for priming a sprayer. Prices are from Amazon and may be subject to shipping costs depending on your location.
- Primer paint: $10
- Two 5-gallon buckets: $15 (each)
- Full-face respirator: $70
- Protective gloves: $12
How to Prime a Paint Sprayer
Priming a paint sprayer follows a procedural approach that focuses on different components. But first, you need to ensure that you have all your pieces of protective equipment on.
Below is how you can prime your paint sprayer and get it ready for your next painting project.
How to Prime a Sprayer Pump
Follow the below steps to prime your paint sprayer efficiently.
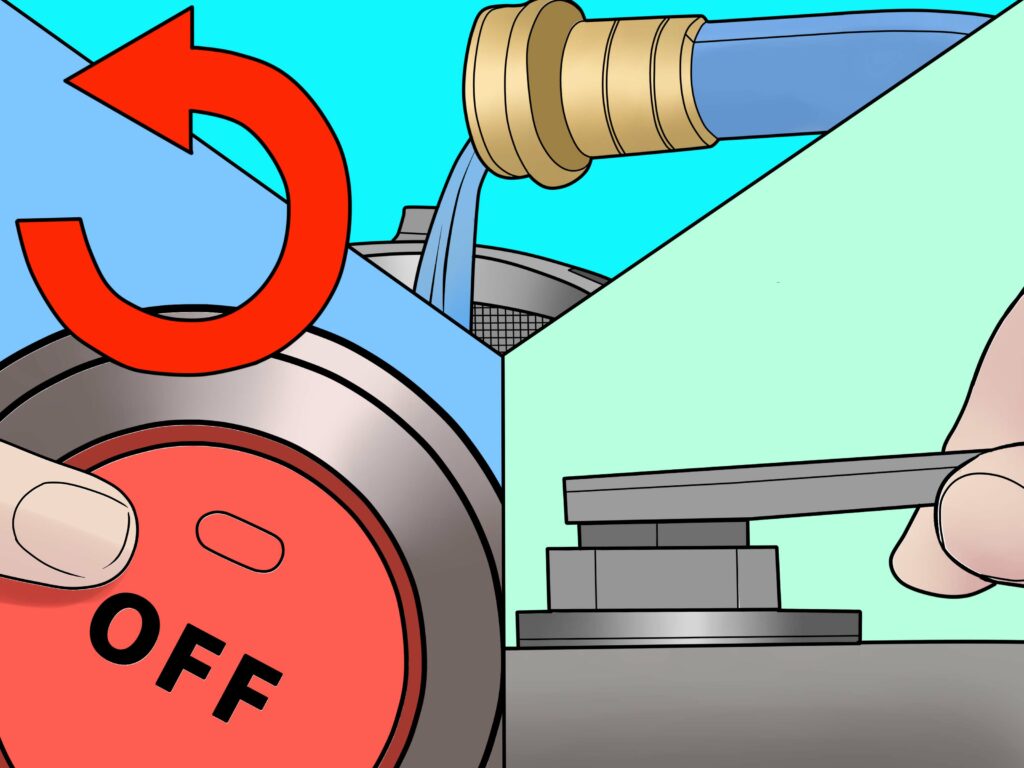
Step 1: Relieve the Pressure
Proper setup will keep your paint sprayer running efficiently for a longer period. The first critical step before using your sprayer is depressurization. Here’s how to do it:
- Engage the trigger lock
- Turn the switch to OFF position
- Adjust pressure to the lowest setting
- Reverse the tip to disengage the trigger lock
- Grab the metallic part on the gun and ground it firmly. While in that position, trigger the gun to relieve pressure.
- Employ the gun trigger lock
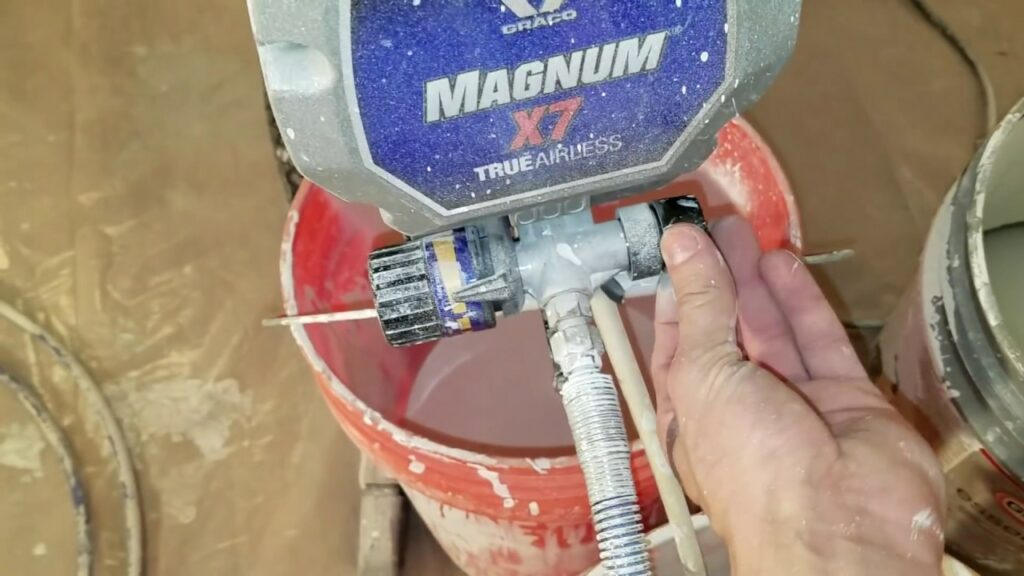
- Move the valve to drain or prime position.
Step 2: Prime the Pump
The next step after depressurizing is priming the pump. Below is the procedure:
- Employ the trigger lock
- Disengage the guard and the tip from the gun
- Dip the intake hose into one of the buckets with primer paint and the drain tube into the other bucket (waste can)
- Keep the prime valve in “Prime” or “Drain” position
- Ensure the pressure control is at the lowest setting
- Turn the machine to the “ON” position
- Increase the pressure until the motor starts. Allow the paint to circulate through the machine smoothly to the outlet, into the waste can.
- Turn the sprayer to the “OFF” position.
Priming the Hose and Gun
Once done with the pump, the final stage is priming the hose and the gun. Follow the below steps to prime the hose and the gun.
- Ground the gun firmly to the waste pail, detach the trigger lock and hold
- Turn the prime valve to the “Spray” position.
- Allow the machine to run until the paint comes out through the outlet. Switch to the “OFF” position and release the trigger
- Move the gun closer to the paint pail and pull the trigger. While at it, turn the switch to the “ON” position allowing the paint sprayer to run for about 20 seconds
- Release the gun trigger and allow the pump to accumulate pressure
- Engage the gun trigger lock
- Screw back the tip and tighten.
Test the Spray
Once done with priming, it’s advisable to test the gun on some waste material, such as scrap cardboard, and monitor the spray pattern. Follow the below steps to test the masterpiece.
- Adjust the pressure control knob to a midway position.
- While holding the gun, keep a 12-inches distance between the gun nozzle and the surface, disengage the trigger lock and spray your test pattern.
- Your pattern edges should be soft and blend-able. If you see heavy edges, also called tails, increase the pressure gradually and continue spraying until you see the desired flawless edges.

Understanding How Paint Sprayers Work
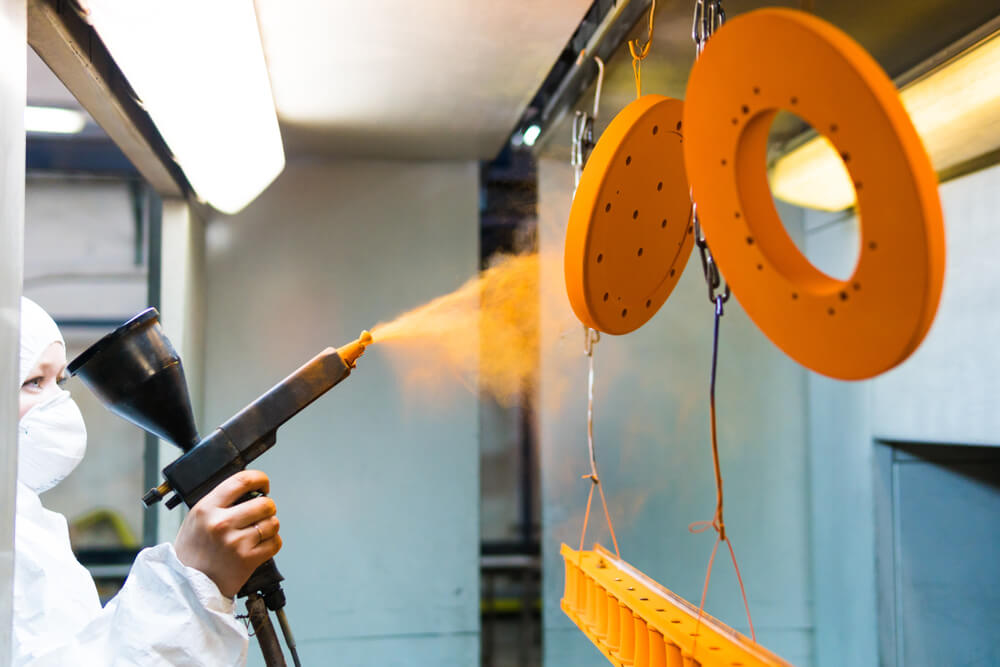
Paint sprayers can operate at high pressure. For instance, airless paint sprayers will run up to 3,000 psi. The tremendous pressure pushes the paint through the hose, where it’s broken down into tiny droplets.
The droplets are then sprayed on a surface in a funnel-shaped pattern for maximum surface coverage.
Some models of paint sprayers suck paint through a hose directly from a gallon or a paint can. Others draw paint from a small cup attached to the pump.
Most airless sprayers that draw paint from an external gallon are for industrial use or large projects like painting an expansive garden fence or a new house. Such sprayers can be tedious to prime and clean compared to priming or cleaning a sprayer with a small detachable cup.
Can I Spray-paint Without Priming?
It’s possible to paint without priming your paint sprayer. Look at the sprayer as a pressure washer, but in this case, it’s dispensing a more dense material—paint, and at a higher speed.
There’s a high chance of some paint sticking at the sides of the hose. While cleaning can help, it’s advisable to prime the pump periodically to ensure it sprays smooth patterns every time.
Troubleshooting: My Paint Sprayer Won’t Prime
Follow the below quick fixes for a paint sprayer that won’t prime.
Toggle the Power Switch
Some fluids will prime faster if the power button is turned off momentarily to allow the pump to slow down. Turn the power on for three seconds, and then turn it off until the engine almost starts. Turn it on again for three seconds and then off.
If you see the fluid flowing in the sucking tube, keep turning it on and off until the fluid comes through the tube’s outlet. Let the fluid flow for 20 seconds. It should now be ready for spraying.
Free Inlet Valve Ball
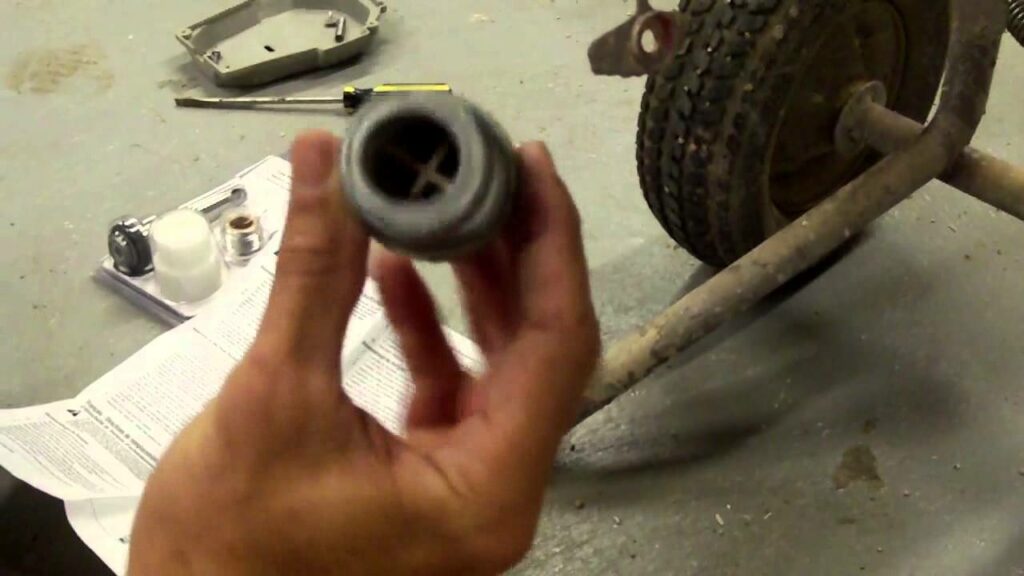
Remove the sucking tube and insert a sharp object like the pointed end of a pencil into the inlet and push it up to free the inlet valve ball.
Re-attach the flushing tube.
With the other end of the sucking tube in the flushing fluid, turn the sprayer on.
If the fluid comes out through the drain tube, allow it to flow for 20 seconds and turn off the sprayer.
The sprayer is now primed and ready to fill with paint.
Power Flush
Power flushing forces the fluid into your pump and clears any dirt or debris that may make it hard to prime the sprayer. Do this for water-based fluids only.
- Attach your power flushing adaptor to the garden hose
- Remove the strainer from the sucking tube and attach the tube to the other end of your adapter
- Close the power flush bell and turn the water on
- Open the power flush bell, turn the sprayer on, and allow water to flow through the sucking tube for 20 seconds.
- Turn the sprayer off and close the power flush bell and the water off
- Remove the power flush bell and re-attach the filter to the sucking tube
- The sprayer is now primed and ready for filling with paint.
Safety Tips When Priming Spray Paint
Here are safety tips to note when priming a paint sprayer.
- Keep distance when spraying: The immense pressure from your paint sprayer can easily pierce your skin if you stay too close. Keep the nozzle away from you and others when testing the sprayer after priming or when spraying an object.
- Ventilate: Put on a full-face respirator and allow enough air to get into the room. Better yet, consider priming outdoors in an open space to avoid inhaling too much toxic paint fumes.
- Stay away from heat or fire sources: Some paint primers are highly flammable. Turn off any heat sources such as gas, electric appliances, stoves, or any other heat source around you.
Conclusion
Priming techniques may vary depending on the sprayer model. Most sprayers come with the main painting hose and a separate priming hose. Machines that feature a priming hose use an easy-prime button.
You should check the manufacturer’s guidelines to prime the pump appropriately. Proper priming procedures will always leave your pump feeling like a new one and ready for the next project. Do not forget to have your protective gear on before priming.
People Also Ask
Paint sprayer priming is a confusing topic to many painters. Many people don’t even consider it an essential process before painting, while others still mistake cleaning with priming. Here are common questions about sprayer priming.
Priming a paint sprayer is a straightforward process that does not last for a long time. Whether you’re priming an easy-prime button type of sprayer or an external drive hydraulic model, the entire process should not last more than 15 minutes.
Priming does not require too much paint. One gallon of fresh and well-mixed paint is enough for priming a moderately sized airless sprayer.
It’s possible to prime a sprayer with water. However, experts advise using water when priming paint sprayers that use water-based fluids only.
A sprayer that does not prime may be a result of several reasons. But the most common cause is a worn-out transducer. A worn-out transducer will not build pressure; thus, you may need to replace it.
Replace the transducer after all the other options such as power flushing, power toggling, among other solutions, have failed.