
Are you wondering why you can’t get the right consistency when spraying paint? Or perhaps you have been wasting the paint and can’t understand why.
Well, that’s because you haven’t been thinning the paint well before spraying. And that’s not the only danger of not thinning your paint before application. You could also damage your sprayer if the paint is too thick.
This handy guide will cover everything on how to thin paint for a sprayer to help you get started.
Why Do You Need to Thin Paint for a Sprayer?
Because of the paint’s viscosity, it’s necessary to thin it first before putting it into the spray gun.
Paint thinning means reducing the paint’s thickness or viscosity. Viscosity (or paint thickness) refers to how resistant the paint is to spreading.
High-viscosity paints, unlike thin paints, don’t spread well, and perfect examples are latex, oil-based, and enamel paints.
So, one crucial reason for thinning paint before spraying is to have an easy spraying process. Thin paints are generally easy to spray, and so they offer better surface coverage.
Even better, thin paints offer a better finish, which is probably the most important reason. It provides you with consistency, something you don’t get from thick paints.
The other problem with high-viscous paints is that they can clog the spray gun’s nozzle, eventually ruining it. You can, however, prevent spoilage by thinning the paint before spraying.
Last but not least, paint thinning reduces wastage. Since you only apply a thin coat, you don’t use a lot of paint.
Quick Questions Before Starting
Before you start the paint-thinning process, you should know how big your project is. You should understand its complexity or ease of doing, the time it will take to complete it, and the overall cost of supplies.
Here are essential questions to consider before starting:
How Difficult is This to Do?
Unless it’s a big project and you don’t have the correct spray gun, paint thinning is relatively simple and easy to master. All you need is to learn the process and have the necessary materials, and you are ready to go.
How Long Does it Take?
It generally takes you minutes to thin paint. But again, it also depends on your project size. Fifteen minutes are enough to thin paint for your sprayer.
How Much Do Materials Cost?
A liter of paint thinner averages $10, but you can use water in its place if the paint is water-based. A liter of good paint, on the other hand, costs about $50, and the spray gun will cost you almost the same amount.
Other supplies are readily available locally at a fraction of the cost.

Items Needed to Thin Paints
The following are items you’ll need to thin paint:
- Paint – This is the main requirement for thinning. Given that there are different types of paint on the market today, you should pick one that you prefer and suits your budget.
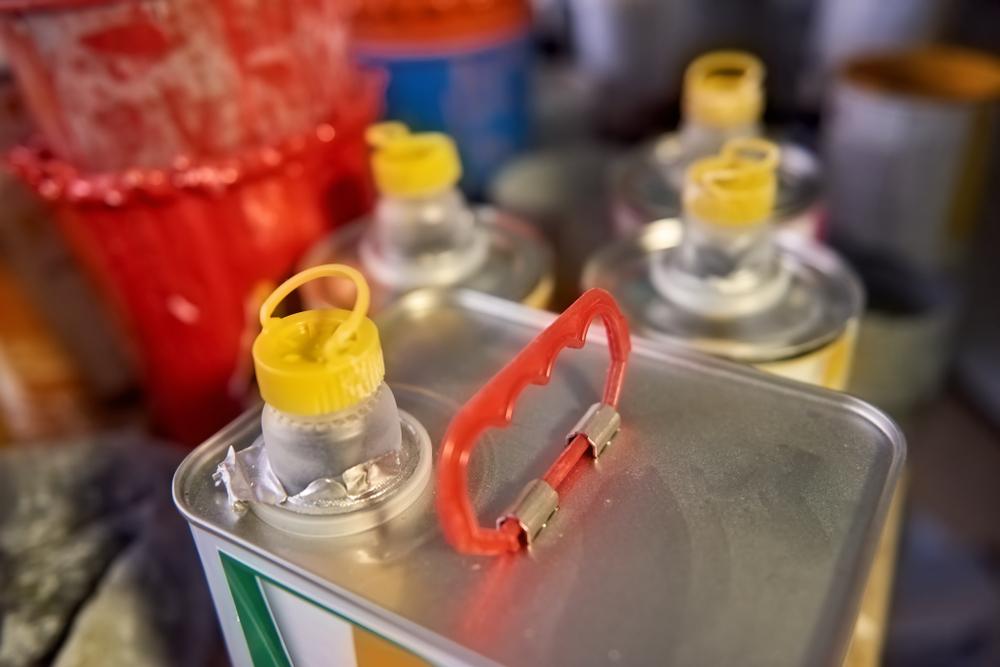
- Water or other thinners – While some paints require commercial thinners, you can thin most of them with water. So, follow the manufacturer’s recommendation.
- Funnel – This generally checks the viscosity of the paint. If the thinned paint flows freely and smoothly down the funnel, good job! You thinned well enough.
- Stirring stick – You use the stick to stir the paint and the thinner thoroughly and evenly to eliminate lumps.
- Test surface (cardboard) – When done thinning a paint, it’s always a good idea to test it on a surface like cardboard. That determines if the paint will adhere well to the surface or not.
- Bucket – The bucket will hold the paint you’ll be thinning.
- Sprayer – This is the equipment that you will use for spraying the paint.
Steps on How to Thin Paint for a Spray Gun
If you want to use a spray gun for your painting, you may wonder what steps to follow to thin your paint. Below are three easy steps that will make the use of a spray gun easier and more fun:
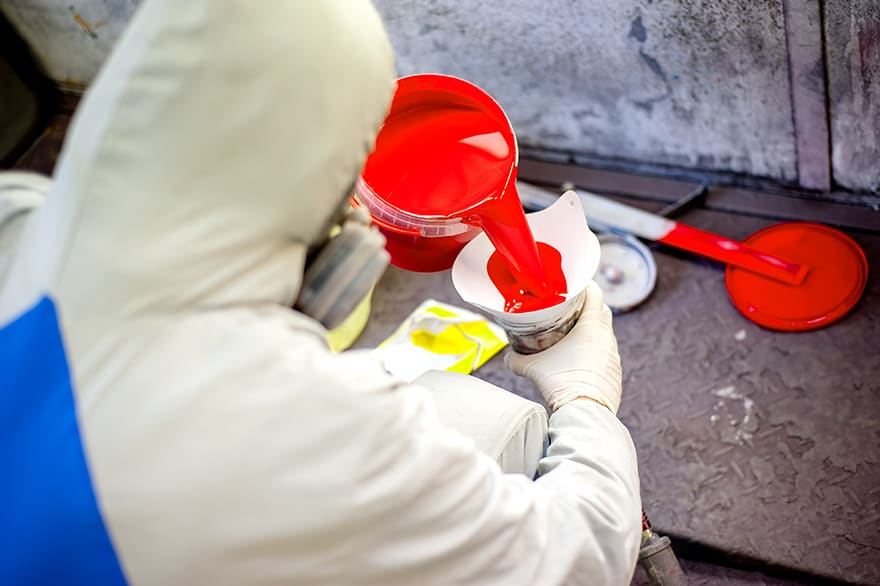
Step 1 – Mix paint with thinner material
- Add ½ cup of thinner material slowly in a 5-gallon paint container
- Use a stirring stick to ensure you stir well until you get the right consistency.
Step 2 – Pour the thinned paint through the funnel
This step is for testing the thickness of the paint to ensure it is thin enough.
Generally, you should pour the thinned paint into the funnel and observe its flow. If the paint flows freely and smoothly. Good job! You thinned enough.
If the paint flows too quickly, it means you diluted too much. In that case, you can add 1⁄8 cup of paint and stir.
But if your paint clogs in the funnel, it means that the paint is still too thick. For such a case, you can add 1⁄8 cup of thinner slowly to the paint as you stir until you get the proper consistency.
Step 3 – Test the paint
It’s now time to test your thinned paint before you begin your project. You can use the cardboard for the test.
If you get a clear and even spread, it means you thinned well, and you can go ahead with your project.
How to Thin Latex Paint
Latex is a water-based paint. All you need for the process are latex paint, a bucket, clean water, and a stirring stick, and then follow these steps:
- Pour your latex paint in a 5-gallon bucket
- For every bucket of paint, add ½ cup of water
- Using a stirring stick, mix the paint and water thoroughly
- Use a funnel to drain your paint.
If the paint flows smoothly, you have obtained the right consistency. But if it runs out too quickly, you thinned too much, and so you should add 1⁄8 cup of paint to get the desired consistency.
But if lumps form in the funnel, you should add ⅛ cup water to thin enough.
Note that there might be a slight color change when you add water to latex paint. It may be darker or lighter.
Looking to get started with painting latex? Check out our review on the best sprayers for latex!

How to Thin Acrylic Paint
Acrylic paint is also water-based. The process of thinning acrylic paint is simple and similar to that of latex. However, the two approaches differ in the amount of water you use.
As for acrylic paint, you need more water to thin the paint. You should, however, watch out to avoid diluting your paint too much.
How to Thin Oil-Based Paint
Unlike water-based paints, you don’t use water to thin oil-based paints. On the contrary, you use commercial solvents like turpentine, lacquer, or mineral spirits.
Below are the steps to follow:
- Pour your paint cautiously into a large container
- Slowly add your thinner according to the manufacturer’s guidelines. However, a standard ratio of 3:1 or 4:1 (paint-to-thinner ratio) is usually recommended.
- Stir using a stirring stick. You have to be careful not to spill the paint on the floor or ground.
- Use a funnel to check the paint’s consistency.
- Then go ahead and test the outcome on cardboard.
Once you are okay with the consistency, put the thin paint into the sprayer canister and have fun spraying.
How to Thin Enamel Paint
For enamel paints to be compatible enough with the spray gun, you have to thin them first. Enamel paints are also oil-based paints. They come in a wide range of colors and textures and are generally thick.
Below are simple steps of thinning enamel paints:
- First, determine the amount of enamel paint you will be using for your project
- Add ½ cup of the thinner in a 5-gallon bucket of paint, and stir using a stirring stick.
- Using a funnel, drain your paint. If the consistency is correct, the paint will flow smoothly down the funnel.
- Lastly, use a test surface like cardboard to spray your already thinned paint. If the spray is smooth and even, you can proceed to spray paint the actual surface.
Tips and Safety Considerations When Thinning Paint
Below are five safety tips to observe when thinning paint:
Thin in a Well-Ventilated Room
Most thinners like turpentine or mineral spirits emit toxic fumes that can cause breathing-related problems as well as headaches and nausea.
So, always ensure that all openings like doors and windows are open at all times for sufficient air circulation when working with them.
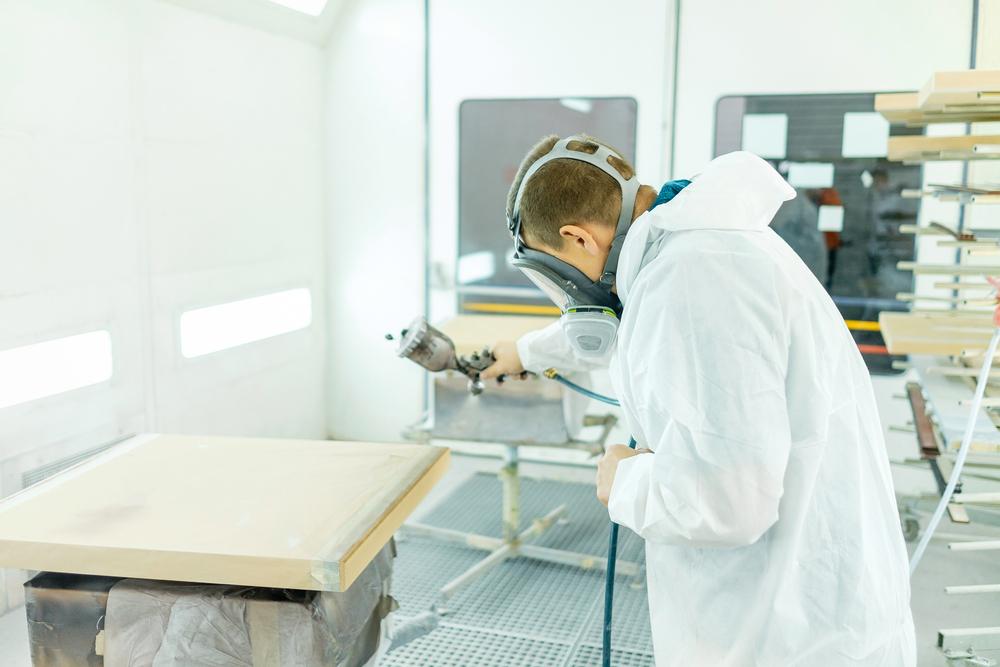
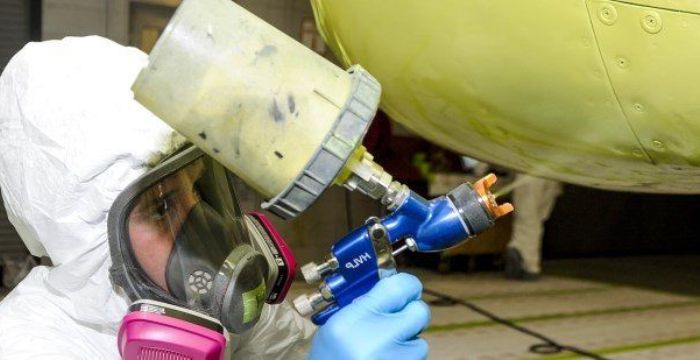
Wear Proper Protective Gear
When thinning your paint, you should wear protective gear like goggles, gloves, gumboots, and an apron. Such gear will protect you from the harmful effects of the paint or thinner.
Keep Thinners Away From the Heat
Most thinners are highly volatile, so you should keep them away from heat and other ignitable agents. Also, avoid smoking as that too can ignite a fire.
Don’t Eat in the Vicinity
You shouldn’t drink or eat around the area you are working in. This is because paint and thinners can easily contaminate the food, leading to serious health issues.
Dispose of Unused Thinners Properly
Paint thinners should be disposed of according to the guidelines on their labels because most are hazardous.
Conclusion
Paint thinning can be tricky at times. However, with the right supplies and technique, you can get the right paint consistency. Doing so ensures that the paint will not clog the spray gun and that you will get a fine, smooth, and even finish.
People Also Ask
The topic of thinning paint for sprayers is quite broad, which means you are likely to have several questions. After providing a detailed guide above, below are some other questions people often ask about the subject.
You can know if your sprayer paint is thin enough by using a funnel or a viscosity cup. If the paint flows smoothly, then it is light enough.
But if the paints flow quickly, then it’s extra thin, and you should therefore add ⅛ cup of paint and stir.
If clogs form in the funnel, the paint is too thick, and you have to add ⅛ cup of thinning material slowly.
Yes, you should water down water-based paint. Remember, paints are thick and hence have a high viscosity. That’s the reason behind thinning it first before using it in sprayers.
Often, especially when using water-based paints like latex, use a 4:1 or 3:1 paint-to-thinner ratio.
The amount of paint should be much more than that of the thinner. Be sure to check the manufacturer’s instructions before thinning.
You can tell that the paint is too thin if it dashes down the funnel. In such a case, add ⅛ cup of paint or more, depending on how light the paint is. Then stir slowly to attain proper consistency.
Acrylic is a water-based paint. Hence, water is the best thinner for acrylic paints. The process is straightforward. You only need to add ½ cup of water to a 5-gallon bucket of acrylic paint and stir thoroughly.
Ideally, straining paint after thinning helps to check for its consistency and viscosity. If the paint is thin, you can add 1⁄8 cup of paint or more to the mixture and stir well.
But if the paint is too thick, you can add 1⁄8 cup of thinning material or more, depending on how thick the paint is, and stir well.